
Today we’ll be taking a deeper look at the mixing of a multitude of gooey substances used in everything from tiling to drywall. When it comes to mixing these materials, there are only a few guidelines to note. We don’t feel like there is any one, single answer for everything, so we’re going to present you with different options along the way.
| Image | Title | Price | Prime | Buy |
|---|---|---|---|---|
Top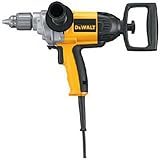 | DEWALT Electric Drill, Spade Handle, 1/2-Inch, 9-Amp (DW130V) | PrimeEligible | Buy Now | |
 Top
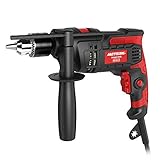
Top | Hammer Drill Meterk 7.0 Amp 1/2 Inch Corded Drill 850W, 3000RPM Dual Switch Between Impact Drill and Electric Drill, With Adjustable Speed for Drilling Wood, Steel, Concrete&Plastic DIY Drilling | PrimeEligible | Buy Now | |
 Top
Top | SKIL 6335-02 7.0 Amp 1/2 In. Corded Drill | PrimeEligible | Buy Now | |
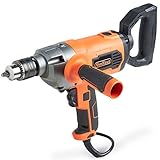 | VonHaus 10 Amp 1/2” Heavy Duty Drill Mud Mixer with Spade Handle and Variable Speeds For Drilling and Mixing | PrimeEligible | Buy Now |
What you can expect to read:
Mixing Drywall Mud
If you’ve never experienced the joy of installing and finishing drywall, be sure to put it on your calendar of things to accomplish this year. As any seasoned drywall installer will tell you, nirvana is just around the corner when you’re thinking about hanging some drywall (or sheetrock for those whose vernacular may be a tad different). Drywall requires mud at the joints, and this mud must be of a particular consistency in order to achieve the required results. Here’s how you do it:
First, understand that the “ready-mix” compound you buy isn’t necessarily “ready to apply.” It needs preparation. That involves mixing it first, and adding what’s needed to achieve the right consistency.
You’ll need a low-rpm drill (450-600 rpm) to mix the compound when you open the bucket. Note: If your mix came in a box, put some in a 5-gallon bucket first. An amount you think you can work with before it begins drying out.
Using a low-RPM drill with a mixer attachment, push the attachment to the bottom of the bucket and begin the drill slowly. Don’t get over excited here, unless you want to bathe in the mix.
Work the mixing attachment up and down, in and around the mix. Don’t exceed the top of the mix. Mix until you can scoop some onto your drywall knife and hold it vertically. If it slowly slides off the knife, it’s just right. If it sticks in place for more than a few seconds, it’s too thick and needs more mixing. If it slides off straight away, it’s too thin and needs time or more mix to solidify.
If your mix won’t thin down to the right consistency, add a touch of water (a few tablespoons to a third of a 5-gallon bucket is sufficient to start). Mix for about 20 seconds and recheck consistency. If it’s too thin, add more mix from the box, or some powdered mud mix to thicken. Trial and error.
What is the Best Drill for Mixing Mortar?
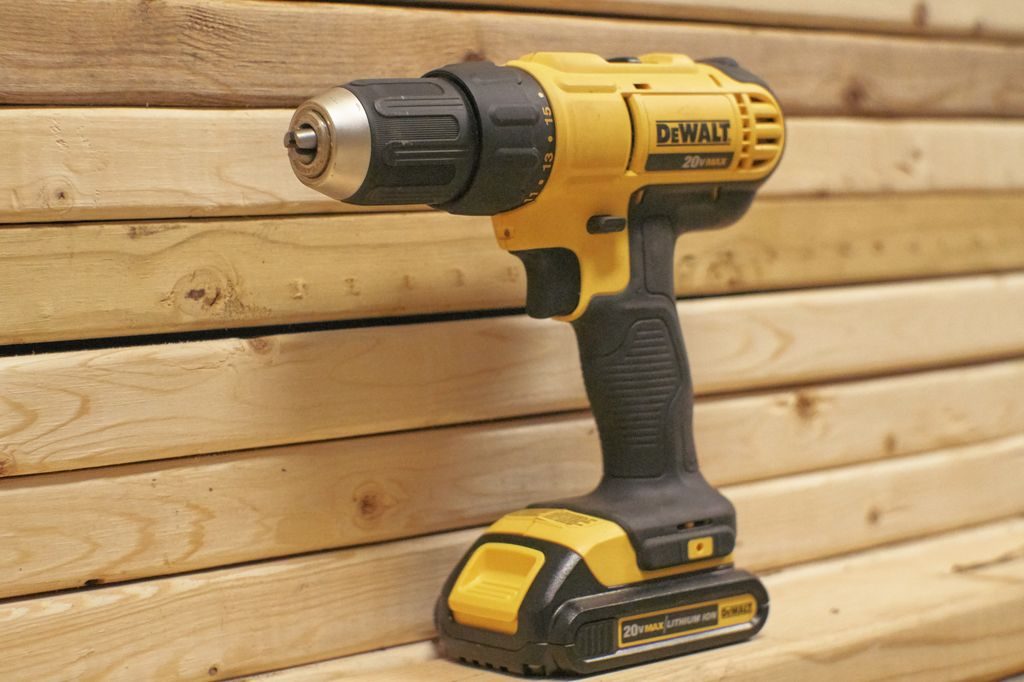
The DEWALT DW130V is the best drill to mix mortar because of the spade handle which gives additional leverage. Mortar or thinset will begin to solidify as you mix and become more viscous. You’ll have trouble holding the drill if you don’t have the right leverage. The DW130V provides this leverage to hold it steady.
Can I mix Thinset by hand?
I recommend mixing thinset using a drill and a mortar paddle. You’ll have a lot of trouble with any other method. Look for an electric or corded drill, not a battery powered one because you’ll wear out the batteries very quickly.
My Best Drill for Mixing Mud

I like the BLACK+DECKER Hammer Drill and a Hyde Tools 4” x 23-1/2” Mud Mixing attachment for this work. They’ll both do the job well. The drill has a variable speed control to make sure you don’t get going too fast (and prematurely thin the mud), and it also has a large side handle that you can align for better control. The mud can be tough at first so you’ll need a drill with better control.
Mixing Plaster
Plaster and water are generally mixed in equal parts. There are a few generalities to follow here:
First, water is the base. Add the plaster mix to the water. Not the other way around. And wear a MASK (N95 or better). Believe it or not, you’ll need your lungs later in life.
Add just enough plaster to the water that it begins to mound up on the surface. This is usually about half the powdered plaster you’ll be needing overall.
Immediately put the mixer in and begin mixing. Delay WILL cause lumps to develop, and you can’t strain those out with a sieve. Again, a low-RPM drill with mixing paddle is needed here.
Move the drill round and round, up and down, both clockwise and counter-clockwise around the bucket to mix the plaster and water. Go all the way to the bottom and be sure to get the corners at the bottom.
Scrape the edges to get any dry plaster mix into the water.
Add more plaster in small amounts and mix. When you can scoop some with a trowel and it doesn’t immediately run off, you’ve got the consistency you need. Slightly thicker for ceilings. Slightly thinner for walls. Overall, you have about 30 minutes to apply the plaster to your job before it starts to become too dry to work properly.
For this job, I like the Genesis 18v Variable Speed Reversible Drill with the same mixer as the drywall mud. It’s lightweight, very affordable, and perfect for the light duty mixing of plaster. You won’t be mixing up large batches of the stuff, so keep your tools simple is our philosophy.
Mixing Mortar
Laying brick or concrete block is a more robust job, undoubtedly, and calls for some more “umph” in your tools. You’ll want a drill that not only is low-RPM, but also can power through the thicker material as the mortar mix goes from gooey to the consistency of peanut butter.
Start with clean water and add your mix according to the package instructions. WEAR A MASK (N95 or better).
Immediately insert the mixing attachment and strike up the drill at a low speed. Work the attachment around the bucket, up and down, and be sure to get into the corners.
When the mortar is the consistency that will hold on to a trowel held at a 90-degree angle, it’s ready for use.
In this instance, I like the DEWALT DW130V 9 Amp 1/2-Inch Drill with Spade Handle. I like the movable side handle, good power, and light weight. It’s an excellent all-around drill.
Mixing Thinset
Thinset is one of those things most DIY’ers see on TV, but don’t quite get in real life. Editors make it look so quick and easy. Here’s what you need to know:
Only use cool water, a drill with mixing attachment, and only make small batches to start.
Start with water first, as in the case of plaster, and add your thinset mix gradually. Be sure to get into the corners at the bottom of the bucket.
When you’ve got the consistency you want, make every batch that same consistency. Don’t alternate between different batches. You generally want a smooth and creamy texture, but not too thick. If it’s hard to use, it’s too thick. The right consistency will be easily spread, and it will be easier to maintain a level between the tiles.
Once it’s mixed, LET IT SIT. 10 minutes is the general rule. After that, mix once more and apply.
For the money, I go back to the BLACK+DECKER Hammer Drill used in the Drywall Mud above. The same features make it ideal for mixing thinset, as well.
In the end, it’s up to you, but don’t try to mix that batch of mud, plaster, mortar, or thinset with your grandpa’s old cordless drill. You’ll just end up burning up your inheritance. Settle on a good, low-RPM drill, 1/2″ chuck, corded or 18v (or higher), and let the good times roll!